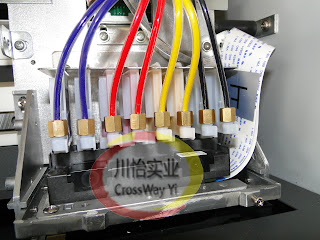
Tutorial for users of new XP600 Head Installation.
How To Install New XP600 Head To Your Printer
Now Let Us to See What is Easy Steps to Install This New Epson XP600 Printhead to a new printer.
When installing a new Epson XP600 Printhead, what problems should be paid attention to and the correct installation steps.
1. When installing Printhead, you must remove the vent seal according to the instructions, but do not remove other seals at will, otherwise the ink will leak;
2. Each time you install a new Printhead, you generally need to clean the print head 3-5 times (please wash the print head at least once);
3. When any printhead has no ink or is not installed, even if other printheads have ink, the printer will not work;
4. Once the new printhead is off, it is best not to remove it before replacing the printhead;
5. Unless you want to replace the Printhead, do not open the Print Head protective clip, otherwise the Print Head may no longer be used;
6. Do not reach into the Printer or touch the Printhead while working on the Large format inkjet printer; first check whether a certain color of ink in the ink cartridge has been used up


Comments